3M Scotchcal Series, your ride deserves nothing but the best.
![Pulsar N160-250 Wolf Design [Full Body Edge To Edge Wrap / Decal / Sticker Kit] Pulsar N160-250 Wolf Design [Full Body Edge To Edge Wrap / Decal / Sticker Kit] Wrap And Ride](https://www.wrapandride.com/wp-content/uploads/2023/07/PHOTO-2023-07-14-17-52-03-211x300.jpg)
![Pulsar N160-250 Wolf Design [Full Body Edge To Edge Wrap / Decal / Sticker Kit] Pulsar N160-250 Wolf Design [Full Body Edge To Edge Wrap / Decal / Sticker Kit] Wrap And Ride](https://www.wrapandride.com/wp-content/uploads/2023/07/PHOTO-2023-07-14-17-52-03-2-211x300.jpg)
![Pulsar N160-250 Wolf Design [Full Body Edge To Edge Wrap / Decal / Sticker Kit] Pulsar N160-250 Wolf Design [Full Body Edge To Edge Wrap / Decal / Sticker Kit] Wrap And Ride](https://www.wrapandride.com/wp-content/uploads/2023/07/PHOTO-2023-07-14-17-52-03-3-211x300.jpg)
HOW TO INSTALL WRAP
How to install your decals, graphics and race numbers?
Check out our Application Process and videos to get the most out of your decals.
We will describe how to get the most out of your new decals and prolong their life. Below you will see 3 steps.
STEP 1 – REMOVE OLD WRAP
STEP 2 – ARRIVAL OF NEW WRAP AND RIDE STICKER (STORAGE & PREPARATION)
STEP 3 – APPLYING YOUR NEW WRAP
STEP 1 – REMOVE OLD WRAP
![Pulsar N160-250 Wolf Design [Full Body Edge To Edge Wrap / Decal / Sticker Kit] Pulsar N160-250 Wolf Design [Full Body Edge To Edge Wrap / Decal / Sticker Kit] Wrap And Ride](https://wrapandride.com/wp-content/uploads/2020/09/aid470985-v4-728px-Remove-Vinyl-Decals-from-a-Car-Window-Step-5-Version-3-300x205.jpg)
We highly recommend giving your vehicle a good clean. The cleaner your machine the better the results you’ll get in applying your decals.
DO NOT USE LUBRICANTS JUST BEFORE APPLYING WRAPS
DO NOT REMOVE THE PAINT PROTECTION FILM [PPF]
We suggest that you strip your bike of your old decals that you no longer need (only do this for the decals you have just ordered – not the ones you want to remain on the vehicle)
The effort required when removing decals can differ depending on the quality of your old decals. With a very good quality decals (like Wrap And Ride’s decals) you can simply heat the decal with a hair dryer (not too much) then start to peel it off slowly and continue to peel until the decal is completely removed from the surface of the vehicle.
Now your old decals are removed
Now that you have your decals removed you want to prepare the surface to ensure there is no film of dirt, grease, or any other barrier that may inhibit the decal from getting the proper adhesion to the vehicle surface. Use a lint free cloth (a cloth that doesn’t give off any fabric from the cloth) and spray the machine surface. You can leave this on for a minute or two to break down the film of dirt/grease. Then wipe off to fully remove. The clearer the surface the better your new decals will stick.
If you have adhesive left on the surface of your machine you will need to either:
- Use a heat gun/hair dryer to break down the adhesive and scrape off
- Use adhesive removal and then scrape off the adhesive
You will never have to do this with Wrap And Ride’s decals as our material is superior to most and we never use lower quality materials that will do this.
Now your machine is fully prepared for your new designed graphics kit.
STEP 2 – ARRIVAL OF NEW WRAP AND RIDE PACKAGE
![Pulsar N160-250 Wolf Design [Full Body Edge To Edge Wrap / Decal / Sticker Kit] Pulsar N160-250 Wolf Design [Full Body Edge To Edge Wrap / Decal / Sticker Kit] Wrap And Ride](https://www.wrapandride.com/wp-content/uploads/2023/07/PHOTO-2023-06-15-16-00-34-260x300.jpg)
![Pulsar N160-250 Wolf Design [Full Body Edge To Edge Wrap / Decal / Sticker Kit] Pulsar N160-250 Wolf Design [Full Body Edge To Edge Wrap / Decal / Sticker Kit] Wrap And Ride](https://www.wrapandride.com/wp-content/uploads/2023/07/ppf-packaging-2-260x300.jpg)
![Pulsar N160-250 Wolf Design [Full Body Edge To Edge Wrap / Decal / Sticker Kit] Pulsar N160-250 Wolf Design [Full Body Edge To Edge Wrap / Decal / Sticker Kit] Wrap And Ride](https://www.wrapandride.com/wp-content/uploads/2023/07/tshirt-packaging-2-260x300.jpg)
![Pulsar N160-250 Wolf Design [Full Body Edge To Edge Wrap / Decal / Sticker Kit] Pulsar N160-250 Wolf Design [Full Body Edge To Edge Wrap / Decal / Sticker Kit] Wrap And Ride](https://wrapandride.com/wp-content/uploads/2020/09/3D-flat-PACKAGING-PRESENTATION-2-251x300.jpg)
When your designed decals arrive they will be in hard round packaging to ensure maximum protection. We test all our decal materials and only handle them in accordance after testing.
STEP 3 – APPLYING YOUR NEW WRAP
Your vehicle and your decals are ready for installation and it’s time to apply your graphics to give your bike a facelift! It will make a serious difference to your machine’s appearance.
It’s helpful to apply the center strip of the decal and slowly ease out the decal to the extremities of the plastics. If you gently ease the decal out from the center with your fingers it can give the decal the heat it needs to stretch the necessary amount to perfectly conform. Only do this when you are sure you have the decal correctly aligned with the plastics. You can peel back the decal to remove any air bubbles that might appear during the installation.
You can remove the decal many times in the adhesion process but you must ensure you don’t stretch the decal (by pulling to roughly) when removing it for correct re-alignment.
When you are completely happy with the decal installation you can apply gentle heat (not too much) over the decal with a hair dryer (avoid heat gun as it provides too much heat) to help the decals take the shape of the plastics.
You can also use heat when applying thicker materials but be careful as you don’t want to warp/distort the shape of the decals so they can’t fit your vehicle. Your decals should now be perfectly applied.
![Pulsar N160-250 Wolf Design [Full Body Edge To Edge Wrap / Decal / Sticker Kit] Pulsar N160-250 Wolf Design [Full Body Edge To Edge Wrap / Decal / Sticker Kit] Wrap And Ride](https://wrapandride.com/wp-content/uploads/2020/09/website-WORLD-WIDE-SHIPPING-300x158.jpg)
SHIPPING COUNTRIES :
India: 12-15 working days – Rest of the world: 15-18 working days.
We ship worldwide. Wrap And Ride prides itself on its worldwide customer base. Motorsports are practiced far and wide across the globe on the fastest tracks, highest mountains, wild-breaking waves and deserted deserts. This is exactly where you will find Wrap And Ride customers!
Our delivery schedule is from the time of purchase. We pride ourselves on getting your graphics to you as soon as possible

![wolf Pulsar N160-250 Wolf Design [Full Body Edge To Edge Wrap / Decal / Sticker Kit] Wrap And Ride](https://www.wrapandride.com/wp-content/uploads/2023/12/wolf.jpg)
![33 Pulsar N160-250 Wolf Design [Full Body Edge To Edge Wrap / Decal / Sticker Kit] Wrap And Ride](https://www.wrapandride.com/wp-content/uploads/2023/07/33.jpg)
![prcised-cut Pulsar N160-250 Wolf Design [Full Body Edge To Edge Wrap / Decal / Sticker Kit] Wrap And Ride](https://www.wrapandride.com/wp-content/uploads/2023/07/prcised-cut.jpg)
![2 Pulsar N160-250 Wolf Design [Full Body Edge To Edge Wrap / Decal / Sticker Kit] Wrap And Ride](https://www.wrapandride.com/wp-content/uploads/2023/07/2.jpg)
![PHOTO-2023-06-15-16-00-34 Pulsar N160-250 Wolf Design [Full Body Edge To Edge Wrap / Decal / Sticker Kit] Wrap And Ride](https://www.wrapandride.com/wp-content/uploads/2023/07/PHOTO-2023-06-15-16-00-34.jpg)
![website-1024x647-(1) Pulsar N160-250 Wolf Design [Full Body Edge To Edge Wrap / Decal / Sticker Kit] Wrap And Ride](https://www.wrapandride.com/wp-content/uploads/2020/09/website-1024x647-1.jpg)


![Pulsar N160-250 Wolf Design [Full Body Edge To Edge Wrap / Decal / Sticker Kit] Pulsar N160-250 Wolf Design [Full Body Edge To Edge Wrap / Decal / Sticker Kit] Wrap And Ride](https://wrapandride.com/wp-content/uploads/2020/09/aid470985-v4-900px-Remove-Vinyl-Decals-from-a-Car-Window-Step-1-Version-3-1-300x204.jpg)
![Pulsar N160-250 Wolf Design [Full Body Edge To Edge Wrap / Decal / Sticker Kit] Pulsar N160-250 Wolf Design [Full Body Edge To Edge Wrap / Decal / Sticker Kit] Wrap And Ride](https://www.wrapandride.com/wp-content/uploads/2023/07/10-300x169.jpeg)


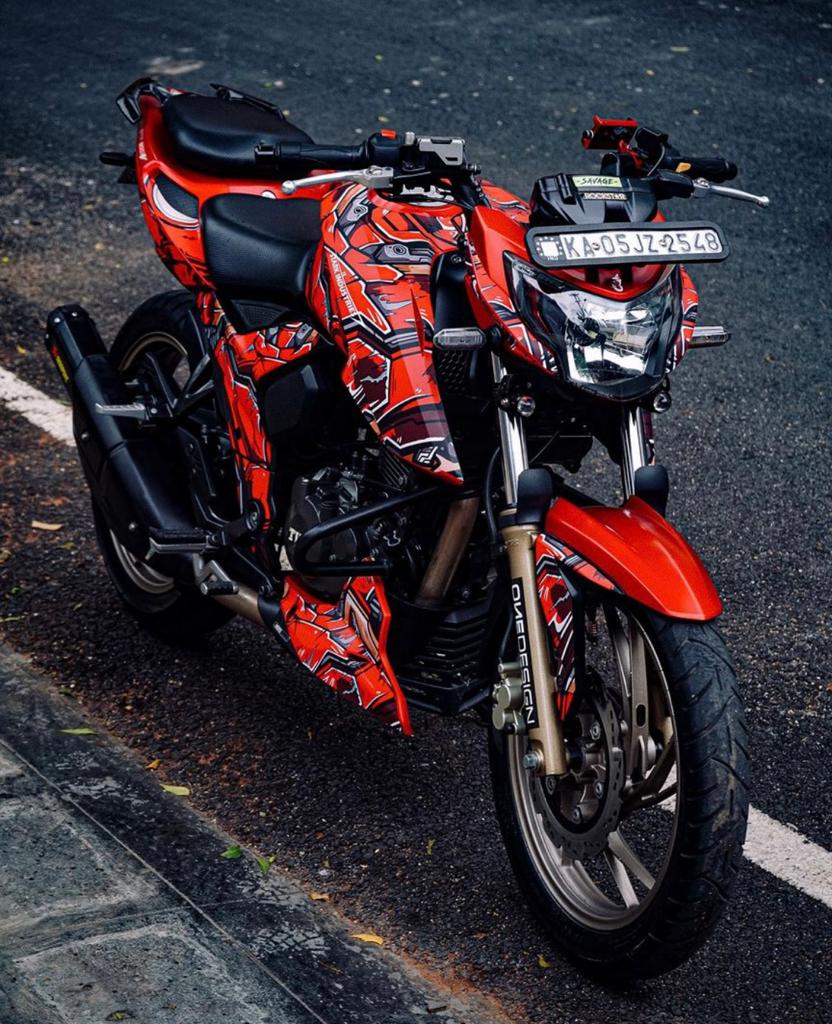
![TVS Apache RTR IronMan Mark 4 Designer Series 160/200 4V [Full Body Edge To Edge Wrap / Decal / Sticker Kit]](https://www.wrapandride.com/wp-content/uploads/2023/08/WhatsApp-Image-2023-08-28-at-12.06.06-PM-300x300.jpeg)


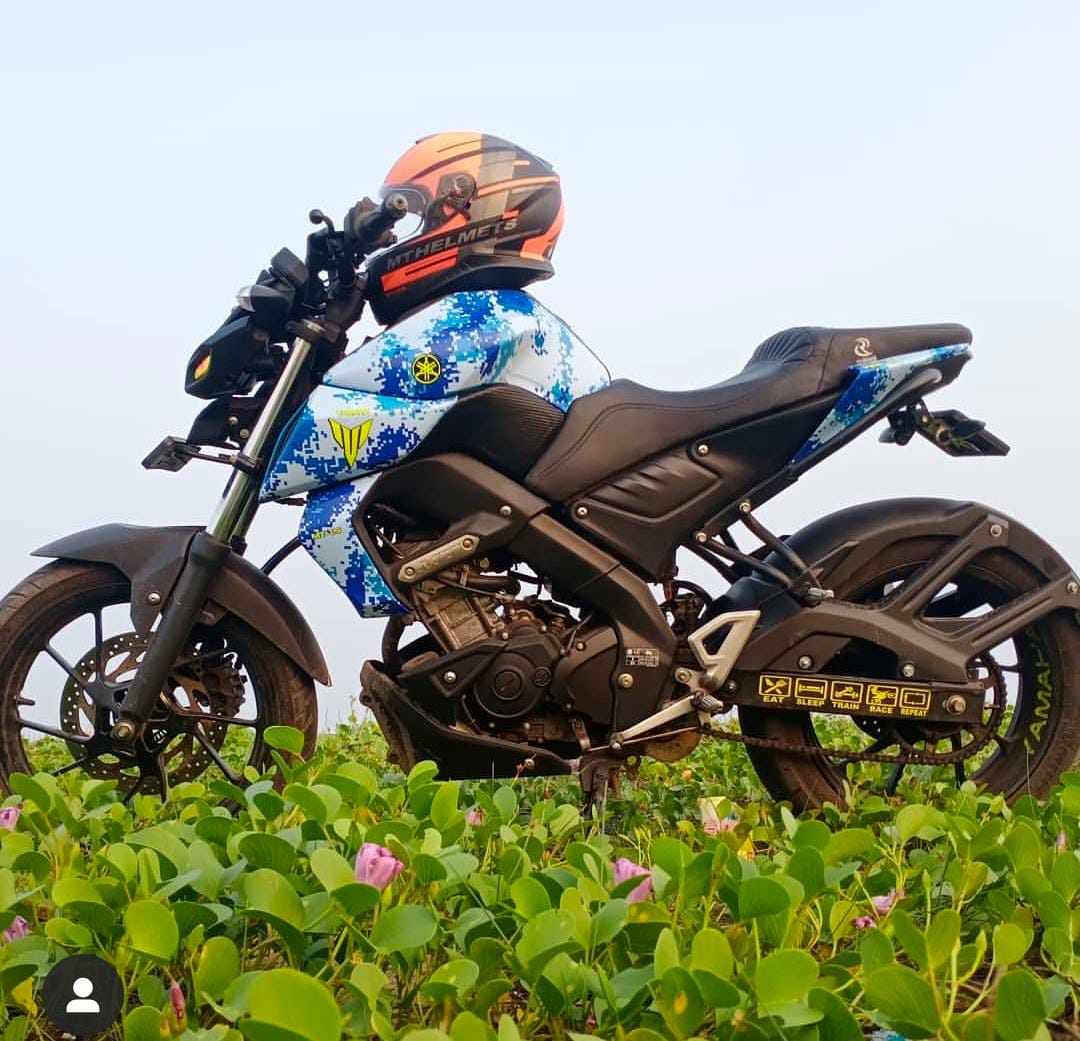
![Yamaha MT 15 Blue Camo Design [Full Body Edge To Edge Wrap / Decal / Sticker Kit]](https://www.wrapandride.com/wp-content/uploads/2023/09/WhatsApp-Image-2023-09-09-at-1.26.07-PM-300x300.jpeg)
Aditya Joshi (Verified Purchase) –
“Just got my WrapandRide graphics installed, and they look fantastic! The zero-bubble technology and premium quality are impressive. The packaging was also strong and had a cool design.”
Mitesh (Verified Purchase) –
If you care about your bike’s look, skip the standard wrap and go for the premium.
Mayur (Verified Purchase) –
“For a high-end wrap experience, choose premium. The standard and hybrid-pro options don’t measure up to the quality of premium.”
Girish (Verified Purchase) –
“Trust me, the premium wrap is worth every penny. I tried standard before, and premium takes it to a whole new level!”
Kunal (Verified Purchase) –
The standard wrap is average. Premium would’ve been a better investment.
Aarush (Verified Purchase) –
Outstanding wrap, highly recommend
Mohit Saxena (Verified Purchase) –
“WrapandRide’s graphics are incredible. The triple-layer PPF is durable, and the zero-bubble technology ensures a perfect finish. The packaging was also strong and cool. Highly recommend!”
Anil Kumar (Verified Purchase) –
Couldn’t ask for better service
Aaravind (Verified Purchase) –
Outstanding results, very pleased